Each of us sometimes feels the need to bring freshness to the interior of our apartment or house. However, the thought of a major renovation can make anyone feel sick. Fortunately, there is a very easy way to do it! You just need to know how to stick a sticker on the wall. Simple, right? To achieve a stunning end result, the entire installation process must be carried out according to the instructions. How to do it and what to pay special attention to? With this guide, you will certainly avoid making mistakes that could cost you not only a lot of wasted time but also money. So we encourage you to read on in this article, which discusses step by step how to evenly stick stickers on the wall - the Wallyboards team.
Sticking stickers and proper preparation - what to keep in mind?
If you are wondering how to stick a sticker on the wall, know that proper preparation is crucial. The wall must be clean, dry, and smooth. Any irregularities, moisture, or dust can affect how well the sticker adheres to the surface. If you skip this step, you will not be able to complete the task correctly.
First, you should organize the most important things that you may need, including:
- clean cloth,
- denatured alcohol or mineral spirits,
- squeegee,
- adhesive tape,
- needle.
Are you wondering how a needle or tape can be useful when installing stickers? In the further part of the article, we will present you with some practical tips where they will be needed. Of course, you don't have to use all the listed items, but from experience, we know that it's worth having them at hand.
Sticking stickers and their proper arrangement on the wall
Choosing a wall sticker is not an easy task. In the Wallyboards store, you will find many styles and categories, from minimalist abstractions to colorful illustrations for children. It is important to make a choice that best suits your style and the atmosphere you want to create. Once you have decided on the sticker you want, the next step is to determine where you want to stick it. Sticking the sticker at the right height and in the right place is the key to achieving an amazing effect.
Are you wondering if you will be able to stick the sticker yourself? It certainly won't be easy, but it's not impossible. The help of another person is not as necessary for small-sized stickers as it is for multi-element stickers - in that case, it's good to have someone close by.
Looking for ideas for arranging your apartment? Check out our blog, where we discuss arrangements with wall stickers.
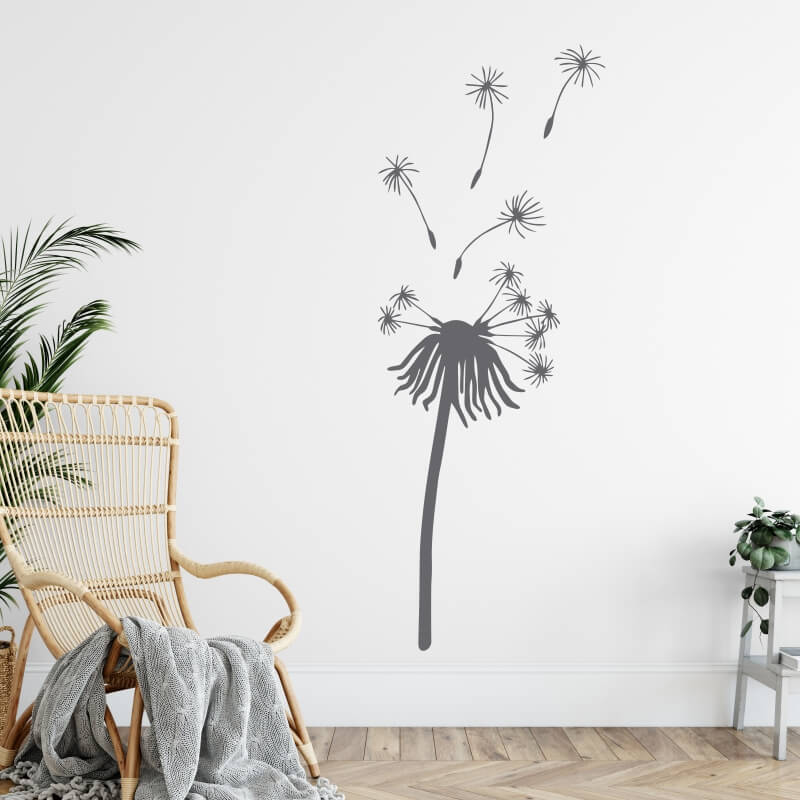
Dandelion wall sticker attracts attention despite its simplicity and minimalism.
How to stick a sticker on the wall right after painting?
This is a very important issue that we address now for a reason. Whether you want to stick a photo wallpaper, printed stickers, or self-adhesive boards - you can install them only after at least 14 days from the moment of painting the walls. Otherwise, they may simply come off. Moreover, it is worth knowing that washable, stain-resistant, facade, and latex-rich paints do not provide good adhesion, so it is recommended to first perform a test installation.
Sticking a sticker on the wall may seem complicated, but if you approach this process with the right care, it is easier than it seems. Starting from peeling the sticker off the backing, to slowly and carefully sticking it to the wall, every step matters. Patience is key. Go slowly, centimeter by centimeter, to avoid the formation of air bubbles or wrinkles.
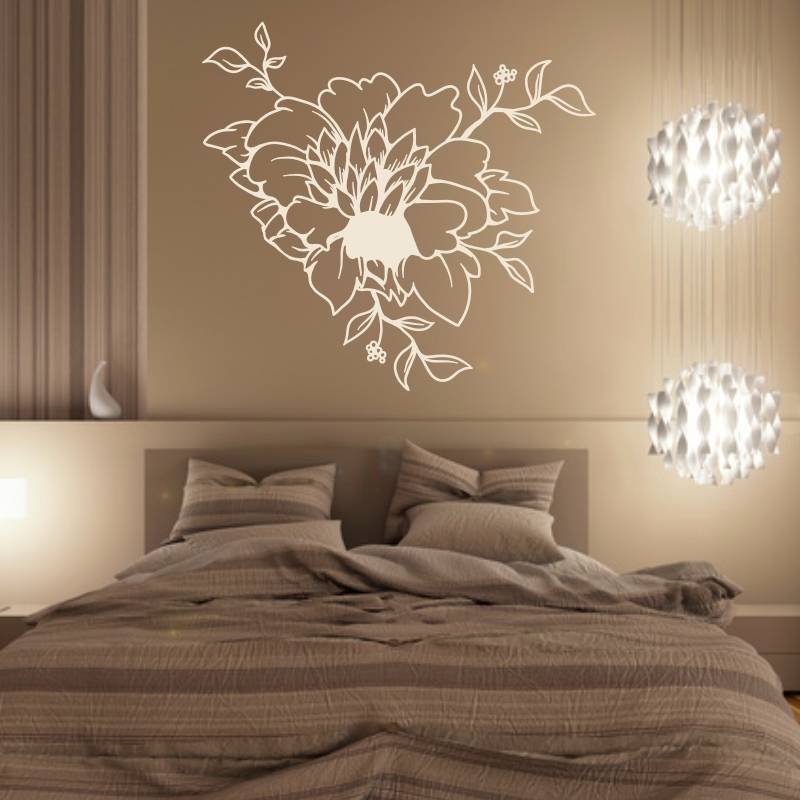
Flower sticker easily complements any arrangement due to its monochromatic design.
How to stick a sticker on the wall - familiarizing yourself with the installation process
Now that you know what to pay attention to before starting the installation, it's time to focus on what proper sticker application looks like. We will present the whole process step by step to make all the stages understandable and easy to master. So, how to stick a sticker on the wall?
Start by preparing the surface for sticking
The first and extremely important step is to take care of the surface on which the sticker will be placed. Whether you intend to stick it on a wall, window, furniture, or other smooth surface - you need to clean them. It is best to wipe paint coatings with a cloth to remove dust, while surfaces that are suitable for chemical degreasing should be wiped with extraction benzene or isopropyl alcohol.
Proper sticker preparation
Stickers are most often packed in cardboard tubes, which makes them less susceptible to damage during transportation. Take the sticker out of the packaging, lay it flat on a surface (pattern side down), and using a squeegee or cloth, gently smooth the paper surface.
How to stick a sticker on the wall evenly? Plan the placement
It's high time to carefully plan where the sticker should be placed. In this case, self-adhesive tape can be helpful to avoid sticking the sticker "blindly". You will be able to see how it looks and whether the chosen area is suitable. You will be able to see how it looks and whether the chosen area is suitable. In the same way, you can attach a multi-element sticker, where it is extremely important to match the elements together to create a cohesive composition. In this case, it would be helpful to have someone to assist you - it's always worth hearing an additional opinion.
Time to remove the backing paper
Once you have positioned the sticker precisely, start peeling off the grid paper from its corner - you need to be very precise so that no part of the design remains on it. If that happens, try sticking it back to the paper and continue the interrupted action. Peel off about 40 cm of the backing paper and try not to press the sticker onto the surface you're sticking it to.
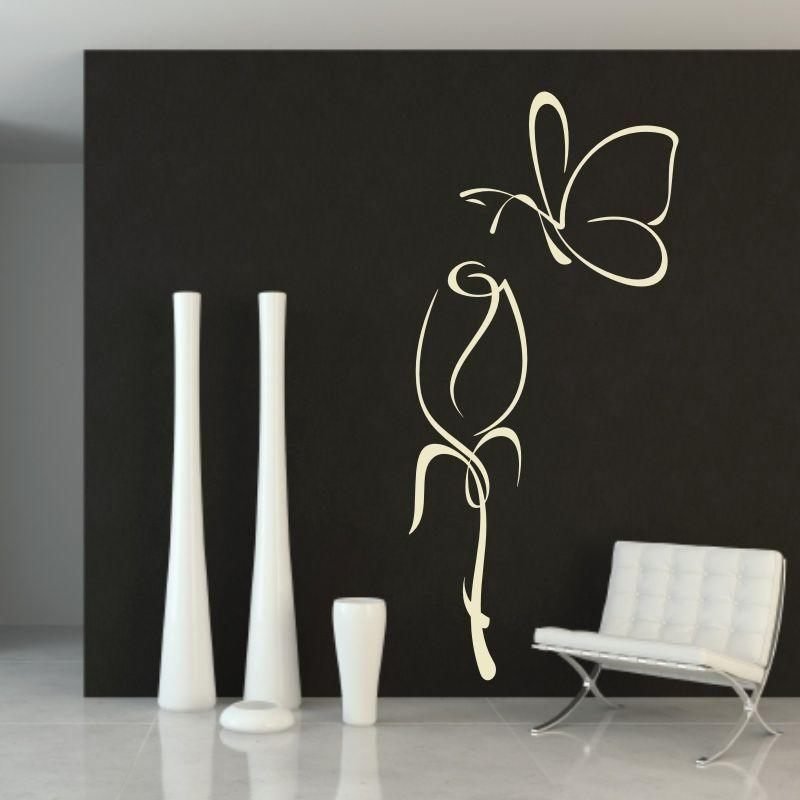
Sticker with the outline of a butterfly and flower will perfectly complement an elegant beauty salon, spa, or any other interior dedicated to beautiful moments.
Applying the sticker on the wall
The sticker is mostly on the surface you have chosen and in the right place? Great! Now you can start applying it using a squeegee. This step is incredibly important and challenging, as it largely determines the final result. How to stick a sticker on the wall without air bubbles? Press the sticker with the squeegee - moving it downward in horizontal strokes.
Once you have applied about 20 cm, you can peel off another section of the backing paper, then repeat this process along with squeegee application until the entire sticker is attached.
Removing the transfer paper
At this stage, you need to peel off the transfer paper. Importantly, do it slowly, at an even pace, and parallel to the surface. Observe very carefully if all parts of the design are staying on the surface, otherwise, you need to go back a few centimeters and press the missing part through the paper again to make it stick together with the rest.
Final assessment and verification - this is the last step
It's time to assess the work you've done and check if the sticker is properly adhered to the surface. You may notice small air bubbles under the sticker - don't worry. To get rid of them, use a small needle to prick them, and then gently smooth the surface with a soft cloth. Done!
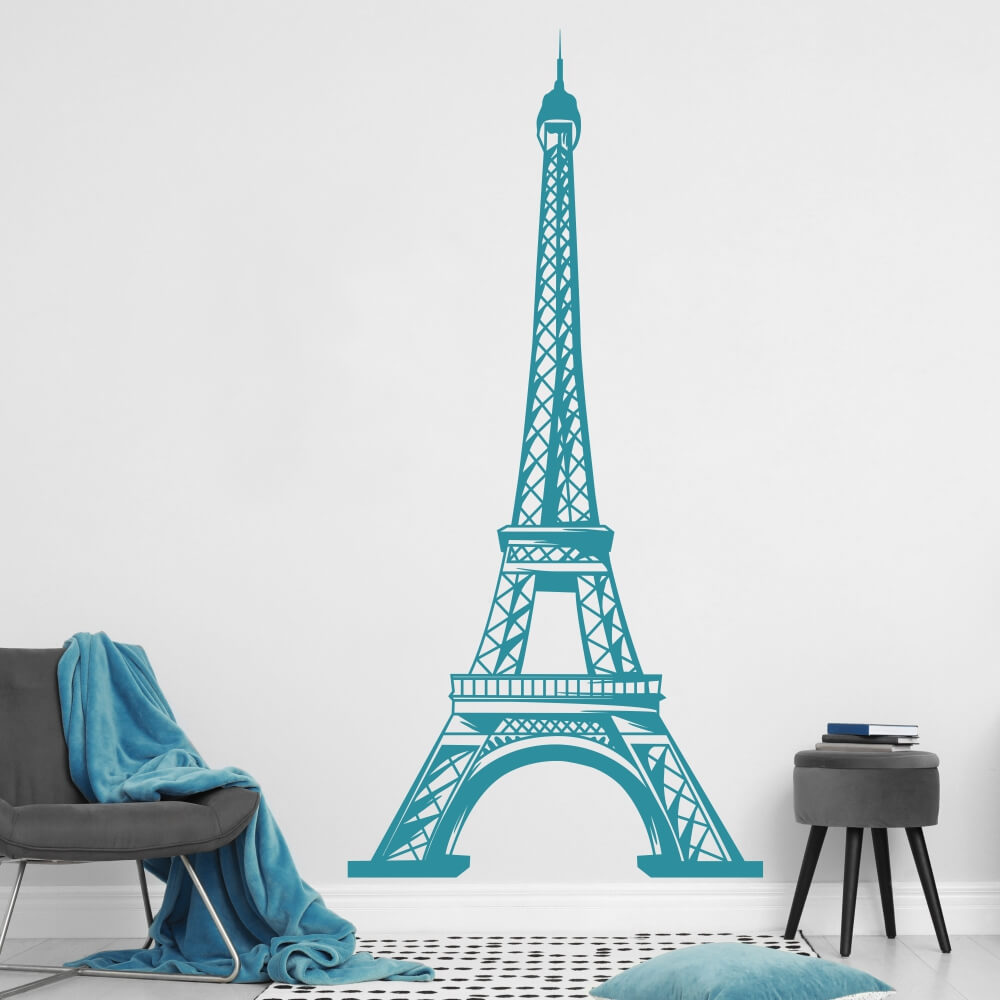
Does your child dream of a trip to France? The Eiffel Tower sticker will certainly be a great gift idea!
Add a touch of magic to other surfaces - applying stickers on cars and windows
Although our main goal was to show how to stick a sticker on the wall, we don't want to stop there. Applying stickers on cars or windows is also a great way to add a personal touch to everyday life, just like using self-adhesive labels with custom prints.
The incredible end result depends not only on the chosen sticker design but also on proper preparation and step-by-step installation following established guidelines. Therefore, if you approach this with full dedication and a bit of patience, you will undoubtedly be able to enjoy a new, beautiful design.
Are you looking for fashionable decorations for your home, apartment, or maybe office? Visit Wallyboards' wall decor store and choose something for yourself!

Paweł
Paweł – production master at Wallyboards
Paweł is a key figure in our production department – thanks to his precision and commitment, every product that reaches our customers meets the highest standards. He’s responsible for printing, maintaining machines, and digitally painting artworks using a computer and plotter. His experience and attention to detail ensure top-quality craftsmanship in every order.


